Users
So, let’s first create the “Users” dataset to store all of the user data in one place 🗂️Upload
We have exported these details to users.json. We can easily upload this to the platform via the Python client. Let’s add imports,.sync() when uploading,
as this performs a bi-directional sync,
and uploads/downloads data to achieve the superset both locally and upstream.
.sync() was equivalent to calling .upload().
The full script for uploading this dataset (and the ones mentioned below) can be found
here.
Analyze
Let’s now create a newDataset Tab in our interface,
and set the context of the entire tab to Datasets
such that all tables will only have access to this context.
The only datasets, Users, is then loaded into the table automatically.
Expand
Expand
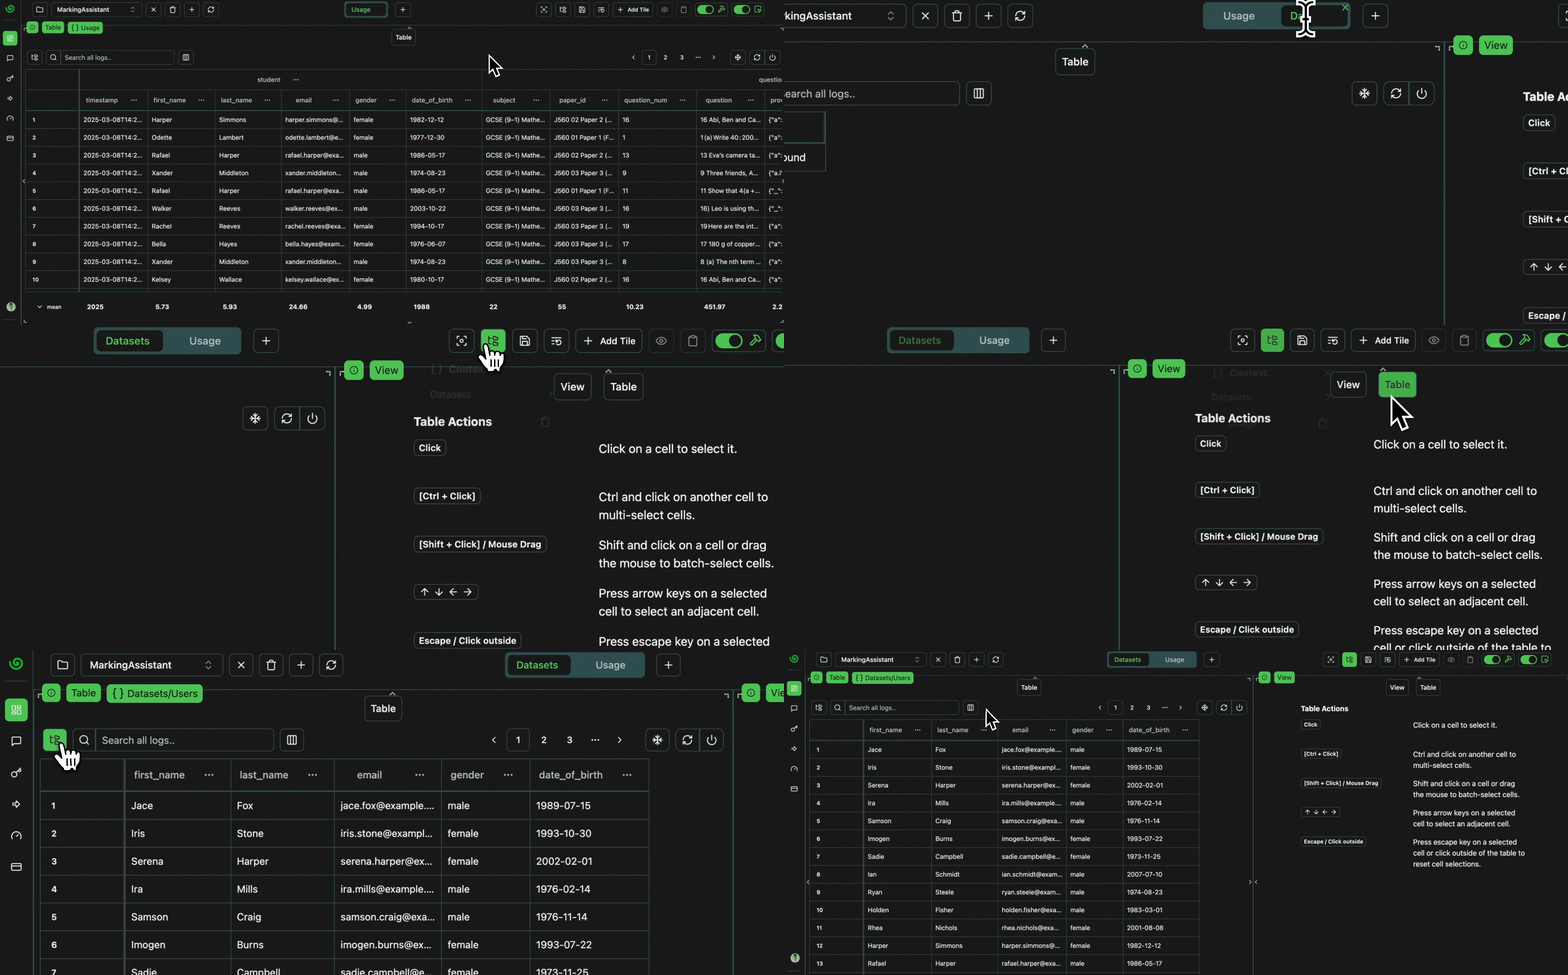 click image to maximize
Sort Surnames
We can sort the data alphabetically if we want the data to be more structured.Expand
Expand
 click image to maximize
Search for Students
We can also search for any student in the search bar.Expand
Expand
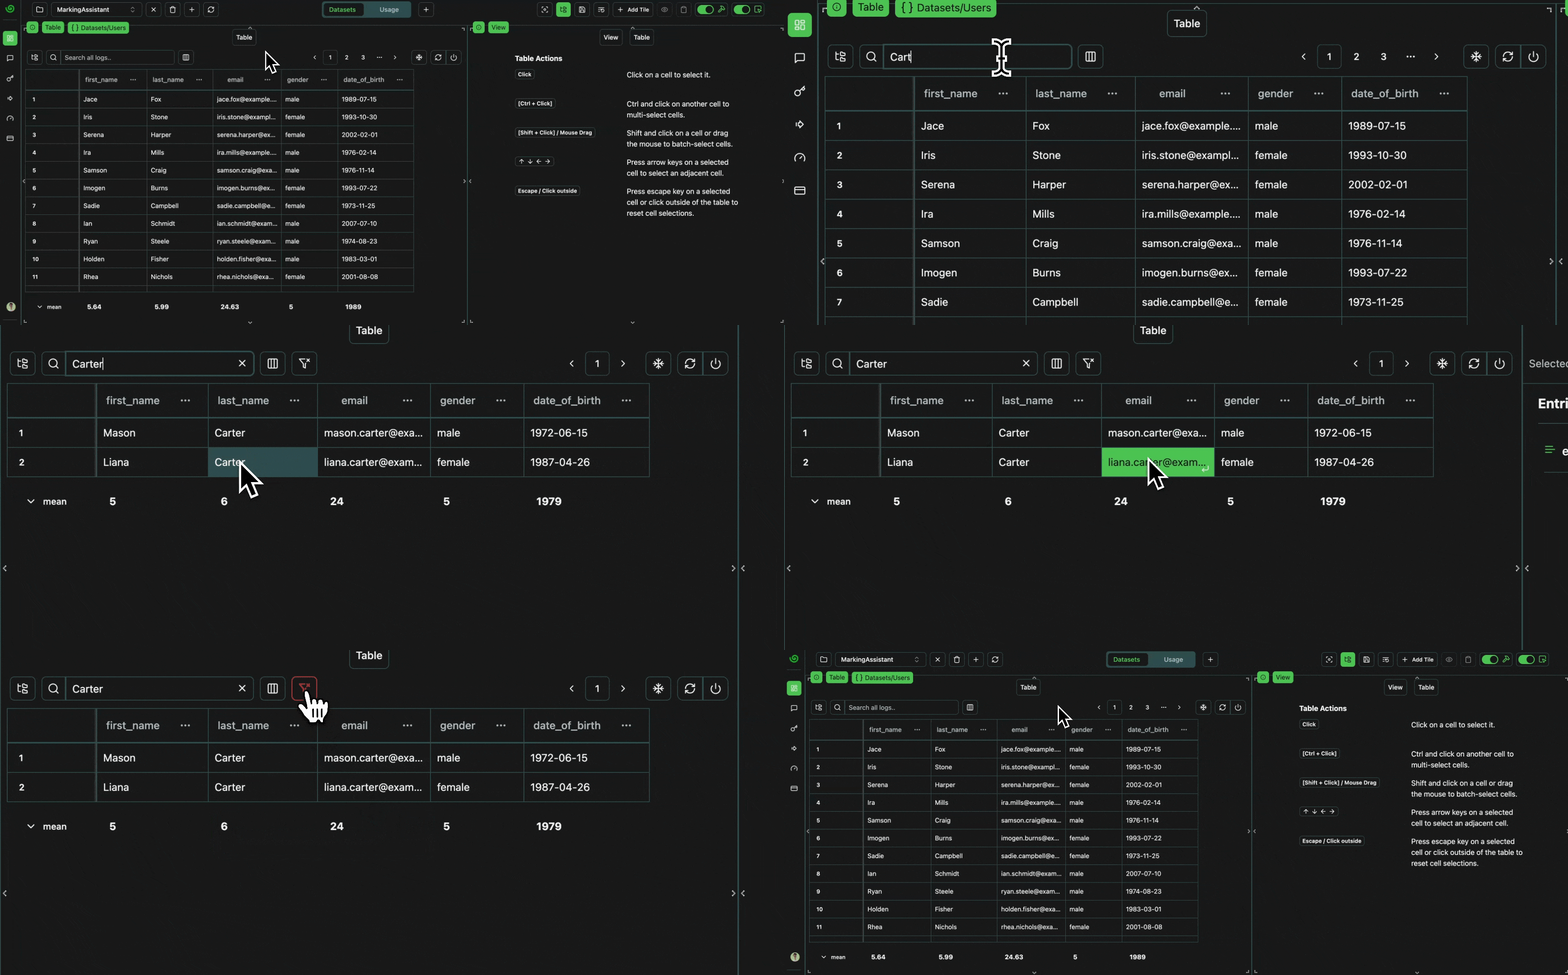 click image to maximize
Test Set
Before we deploy an agent to mark the user answers in production, we need to be able to evaluate the agent performance. This is what a test set is for, matching agent inputs with desired agent outputs.Upload
Let’s assume we have a dataset of questions, answers and the correct number of marks to award for each answer, that an expert marker has provided, alongside their rationale for awarding this number of marks. In our case, this was synthetically generated by OpenAI’s o1 via this script, but for the sake of example, we can assume it was generated by expert human markers. The data was then organized into a test set using this script, and the resultant data is saved in test_set.json.Full Dataset
As before, lets download the data,Sub-Datasets
Whilst we’re improving our LLM agent (next section), we won’t necessarily want to test against all 321 examples every time. This would be both very costly and very time consuming, and needlessly wasteful early on, when a handful of examples will suffice to point us in the right direction. Therefore, let’s create some subsets of the full test dataset. Let’s start with 10 examples, and then double up to 160 (almost half the full size). The test set has already been shuffled, so we can simply take increasing slices starting from the beginning.Analyze
Let’s now analyze the test datasets, to verify everything is as it should be 🔍Check Sub-Datasets
Let’s take a look at our different dataset slices. Each sub-dataset contains the same logs as the main dataset, and as every other overlapping sub-dataset. For example, any in-place updates to the logs will be reflected in all datasets.Expand
Expand
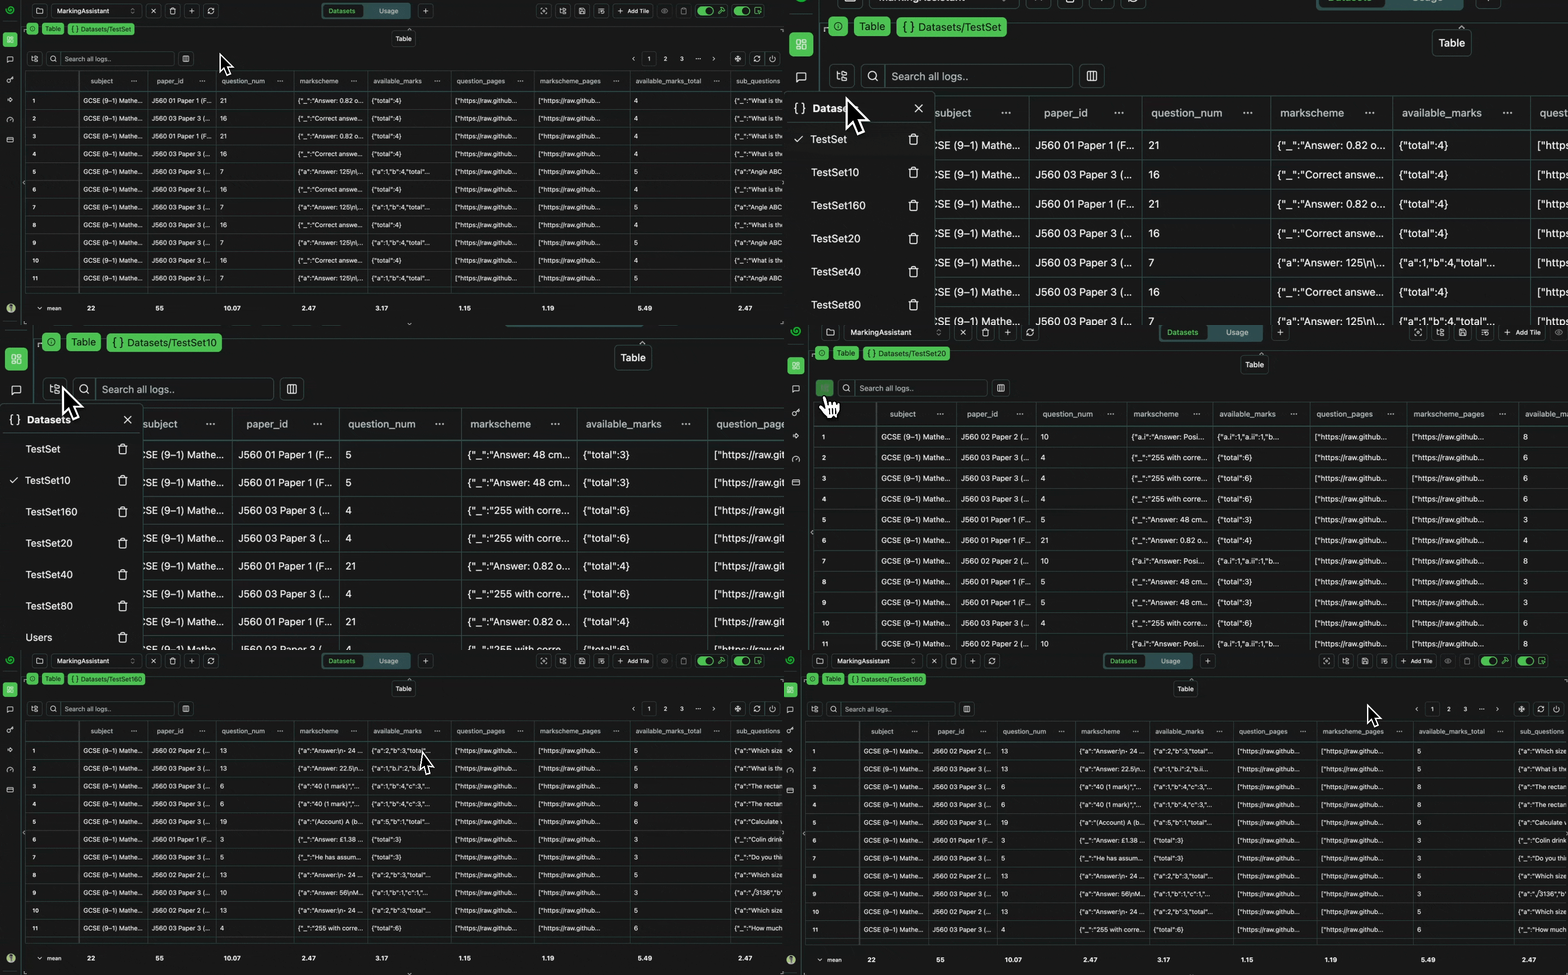 click image to maximize
Verify All Data is Present
Let’s verify that all of the data is present, as expected.Number of Papers
We should have a total of three papers, as per this original PDF, and as per the parsed representation we extracted here. We can confirm this by grouping by the papers.Expand
Expand
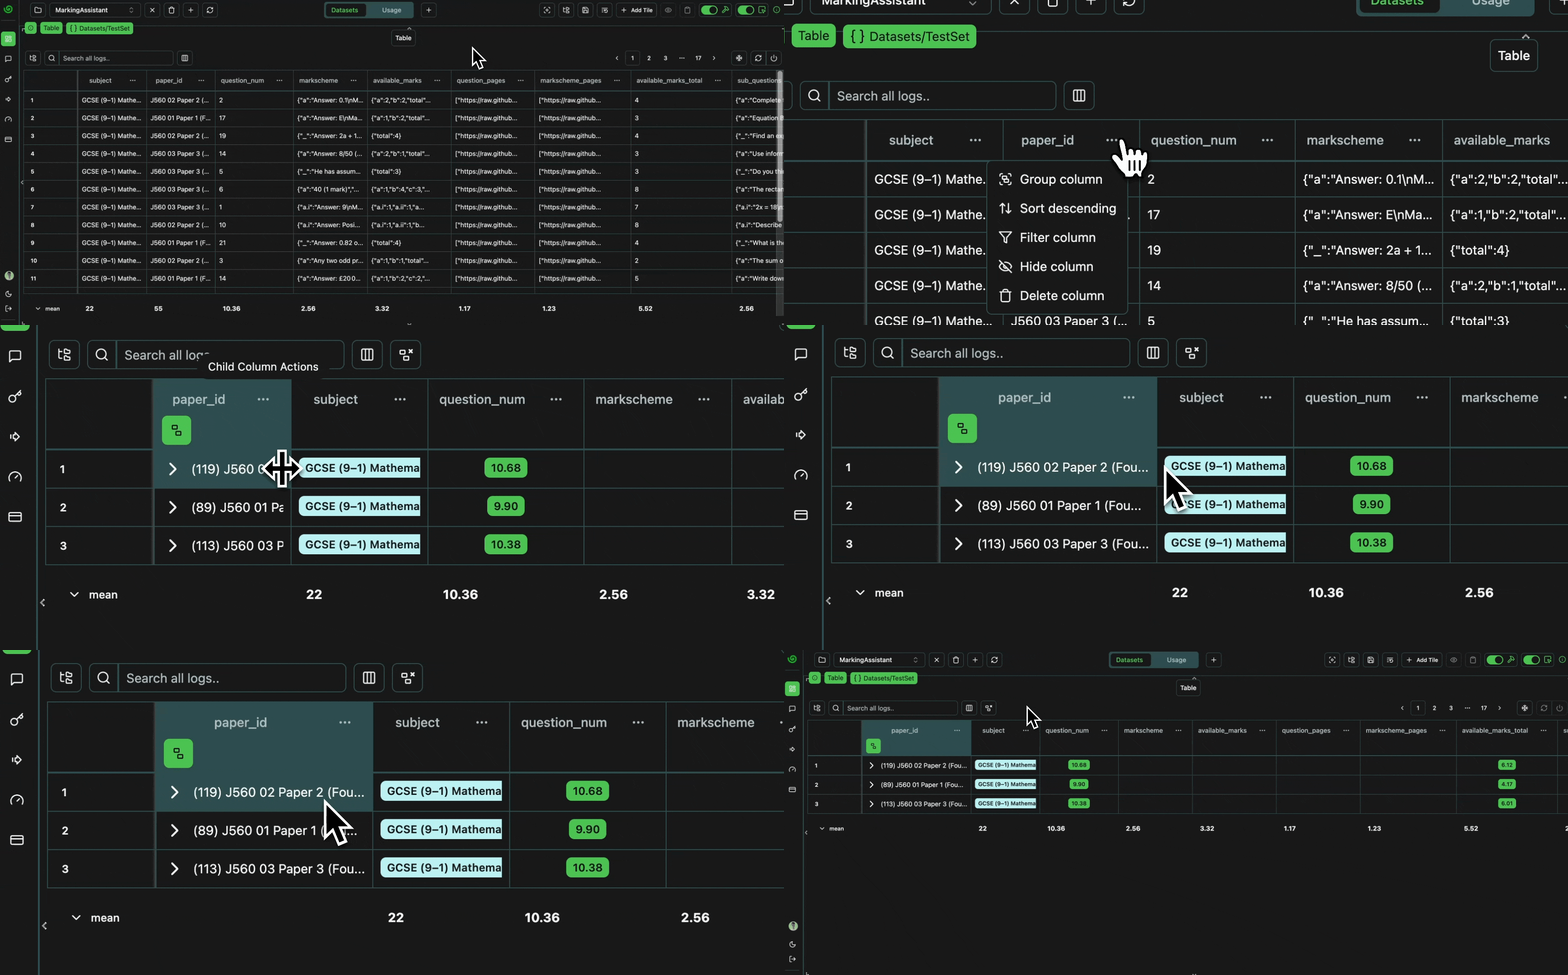 click image to maximize
Number of Questions
Each paper should have a set number of questions. Checking the original PDF, we can see that:- Paper1 -> 21 Questions
- Paper 2 -> 19 Questions
- Paper 3 -> 19 Questions
- they involve an image as part of the question, (they are not text-only)
- the question was not
correctly_parsed(example full parsed paper) - the question markscheme was not
correctly_parsed(example full parsed markscheme)
Expand
Expand
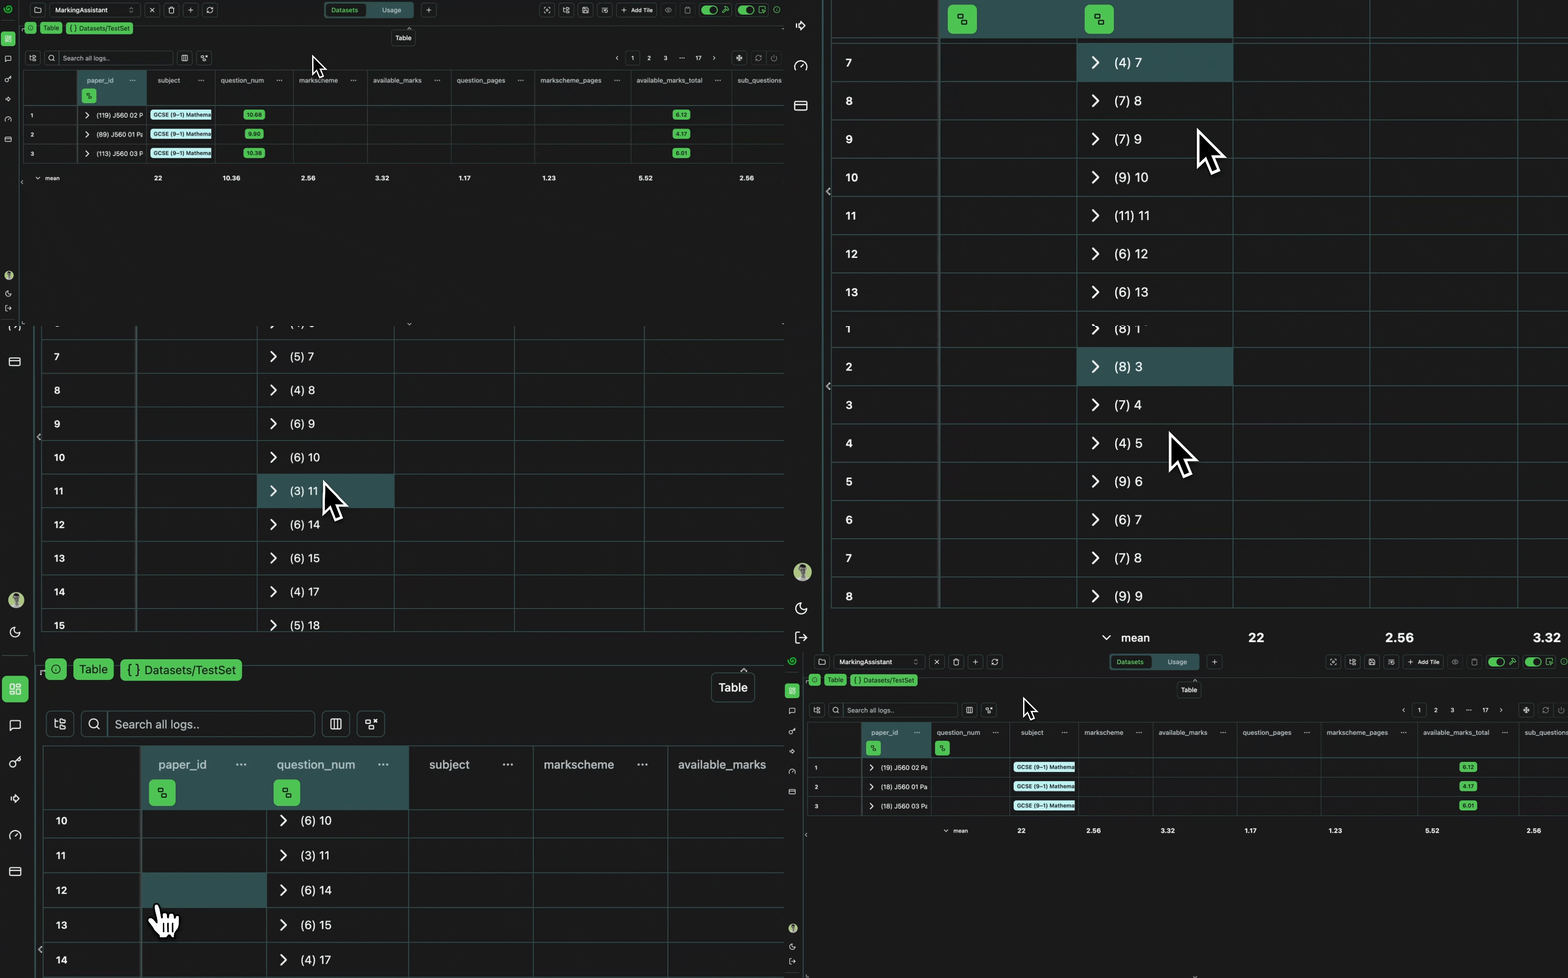 click image to maximize
"text-only": false):
Number of Target Answers
Finally, each question should haveN+1 candidate answers which are expected to receive [0, 1, ..., N] marks,
where N is the total number of available marks.
Let’s verify this is correct,
by adding the available_marks_total column,
and verifying that the group sizes are all equal to available_marks_total + 1.
Expand
Expand
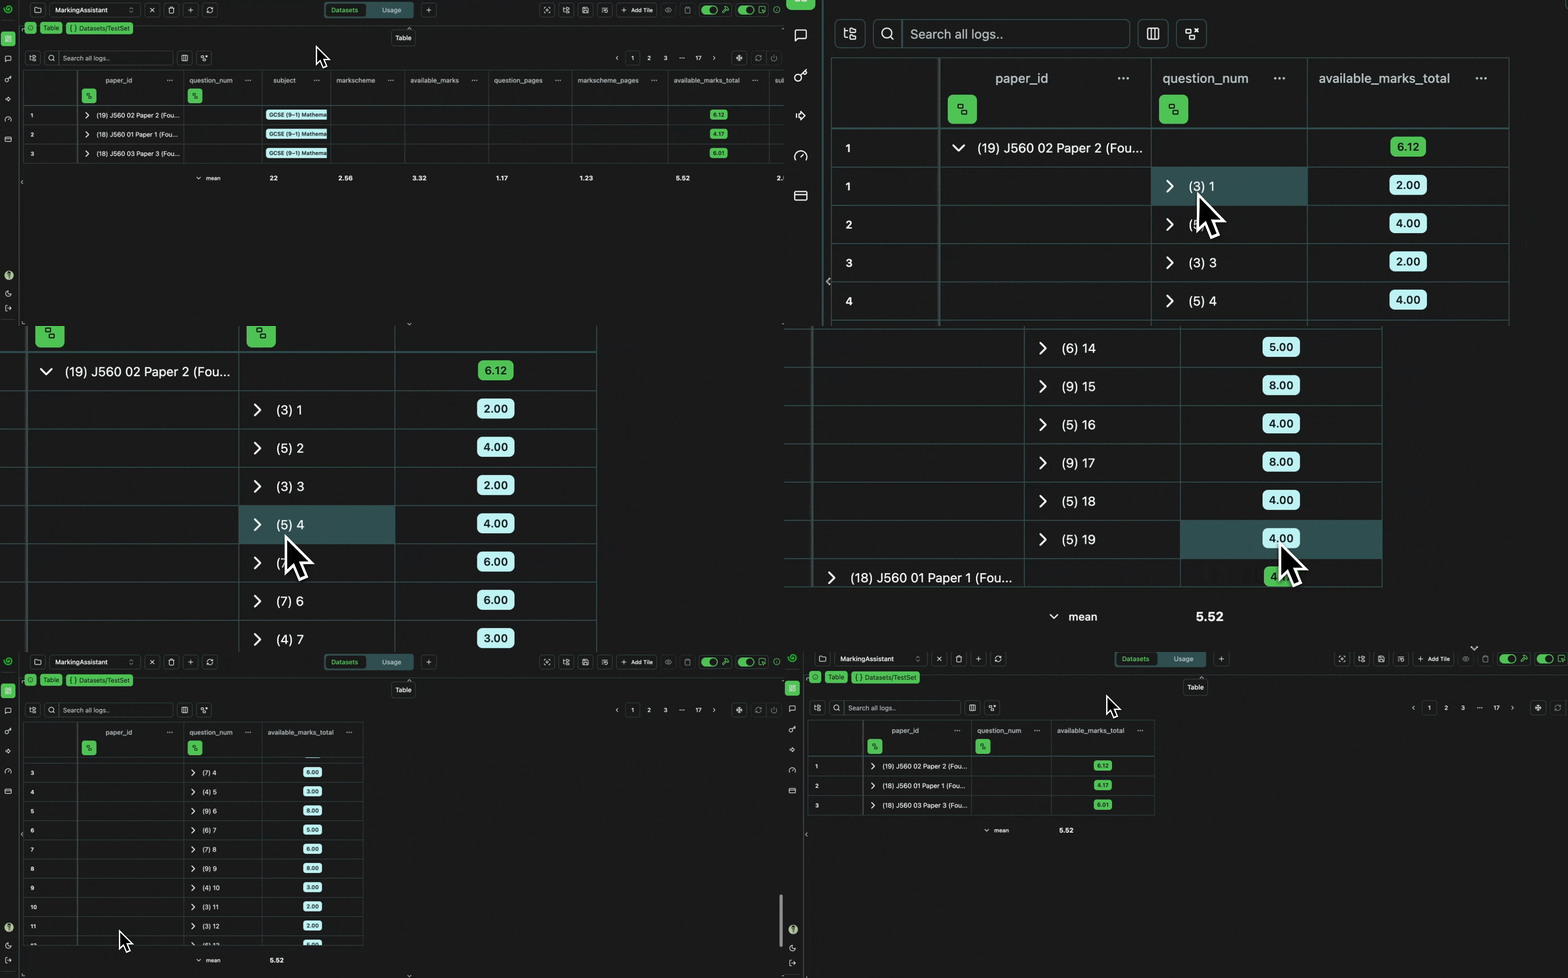 click image to maximize